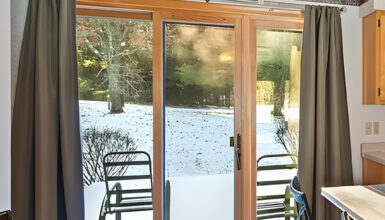
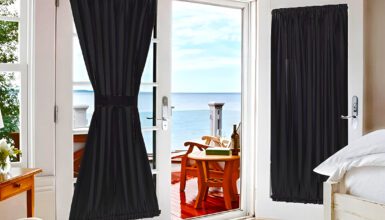
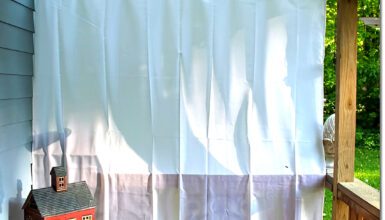
A perfect patio setup isn’t just about comfy furniture or pretty plants—it’s about creating a cozy vibe. But let’s face it; nothing disrupts the calm like your outdoor curtains flapping in the wind like they’re auditioning for a dance-off. Frustrating, right? Don’t worry. I’ve got you covered, from sewing in weights to wind-resistant rods. Whether you’re a DIY pro or a quick-fix champ, we have the inside scoop to help you choose the best method for your space.
1. Sewing in Weights

Alright, DIY enthusiasts, this one’s for you! If you’re handy with a needle and thread—or even if you’re not, no judgment here—sewing in weights is a fantastic way to keep your curtains from doing the cha-cha every time the wind blows. Ready to get crafty? Let’s go!
First, gather your supplies. You’ll need:
- Sewing thread that matches your curtain fabric
- A needle
- Small weights, like washers or fishing sinkers,
- Scissors
- Measuring tape
Start by measuring the bottom hem of your curtain. This is where you’ll be tucking in those weights. You’ll want to space them evenly, so do some math to determine the best placement. For example, if your curtain is 60 inches wide, you might opt for a weight every 10 inches.
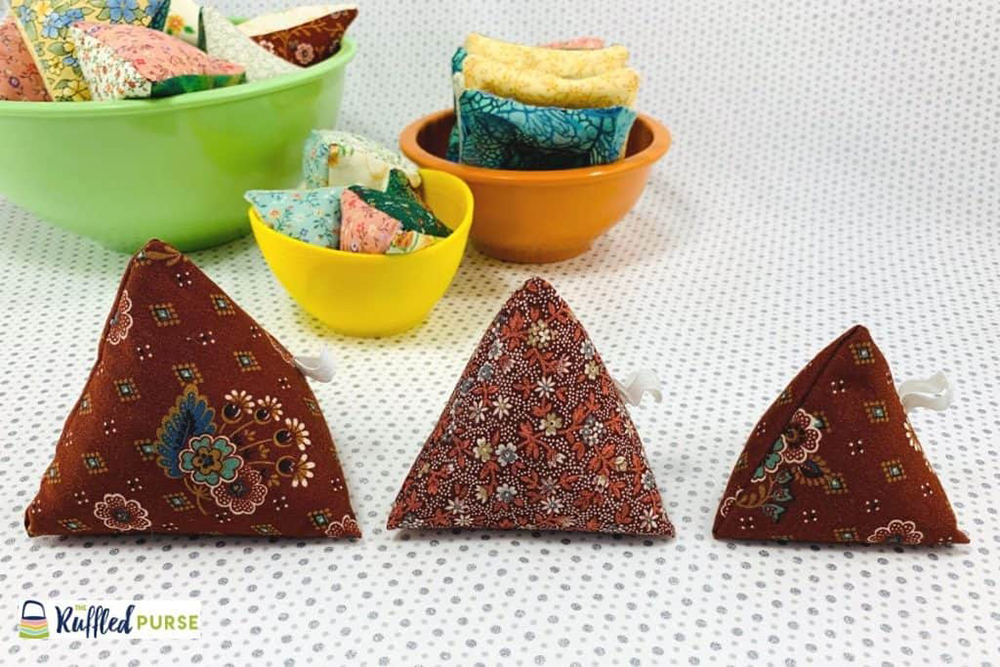
Now, cut a small slit in the hem, just big enough to slip the weight inside. Don’t cut too close to the edge—you’ll need room to sew it closed later. Slide the weight in, then sew the opening shut with your needle and thread. Make sure to double or even triple-stitch for added durability.
But wait, there’s more! You don’t have to stop at just the bottom hem. For extra “stay-put” power, consider sewing weights into the side hems, too. Trust me, those curtains won’t know what hit them.
And voila! You’ve got a set of curtains that look fabulous and stay put, even on windy days. Plus, you get bragging rights for pulling off a DIY curtain project like a champ.
2. PVC Pipe Method
If sewing isn’t your thing, or you just want to try something a little more, shall we say industrial, then listen up. The PVC Pipe Method is coming your way, and let me tell you, it’s a game-changer. No needle, no thread, just suitable old-fashioned hardware. Are you excited? Because I am!
Here’s what you’ll need to assemble:
- PVC pipes (choose a diameter that fits easily into the bottom hem of your curtains)
- A hacksaw (for cutting the pipes)
- Measuring tape
- Rubber mallet
- End caps for the pipes (optional but recommended)
First things first, measure the width of your curtain’s bottom hem. Once you’ve got that number, head to your local hardware store and pick up some PVC pipes. While you’re there, grab some end caps, too; they’ll give your project a polished look.
Alright, back to the workshop, kitchen table, garage, or wherever you’re setting up shop. Use your hacksaw to cut the PVC pipes to match the width of your curtain. Smooth any rough edges; we don’t want snags on that beautiful fabric!
Now, slide the pipe into the bottom hem of the curtain. If you’re using end caps, pop them onto the ends of the pipe. A rubber mallet can help you secure them tightly. And guess what? You’re done!
Here’s why this method rocks: PVC pipes are sturdy but not too heavy, so they add just the right amount of weight to keep your curtains from dancing around in the wind. Plus, they’re weather-resistant, so those pipes aren’t going anywhere, come rain or shine.
So, there you have it—a simple, effective, and fun way to keep those curtains grounded. Who knew a trip to the hardware store could solve your curtain conundrum?
3. Chain Pockets
If you’re looking for a method that’s a touch more elegant and a tad more discreet, you’re going to love this one. Enter the fabulous world of Chain Pockets! It’s like adding a stylish belt to your favorite jeans—functional and fashionable. Ready to glam up those curtains? Let’s get to it!
Here’s your shopping list:
- Metal chains (go for small, decorative ones)
- Fabric strips (matching your curtains)
- Sewing thread and needle
- Measuring tape
- Scissors
- Straight pins
Step one is all about the chains. Measure the bottom width of your curtain and cut your metal chains to match. Ensure the chains are small and light enough not to stretch out the fabric but heavy enough to keep it grounded. Balance is key here, people!
Next, let’s create some pockets for those chains. Cut your fabric strips so they’re as long as your chain and wide enough to fold over the chain, with a little room to sew. Basically, you’re making a fabric tunnel for the chain to live in.
Fold your fabric strip half over the chain, and use straight pins to secure it. Then, grab that needle and thread and get sewing! You’ll want to stitch along the open side of the fabric strip, sealing the chain inside. Pro tip: Make sure to double-stitch the ends for extra security.
Last step: attach your new chain pocket to the bottom of your curtain. Line it up to flush with the hem, and stitch it in place. Yep, you guessed it, double-stitch those ends!
And voila! Your outdoor curtains now come with built-in bling that looks great and keeps them right where you want them. Enjoy the wind-free ambiance, and go ahead and take all the credit for those perfectly poised curtains. You’ve earned it!
4. Magnetic Weights
If you’re all about that snap-and-go life, this following method will make you jump for joy. Magnetic Weights are in the house! Easy to install, easier to remove, and no sewing or cutting involved. Intrigued? You should be! Let’s get magnetic.
First up, here’s what you’ll need:
- Small but strong magnets (go for the neodymium type)
- Metal washers (that the magnets will stick to)
- Fabric glue or hot glue gun
- Measuring tape
Step one: lay your curtain flat and measure the bottom hem to determine where you’ll place your magnets. Like we’ve done before, space them evenly for the best results. Ten inches apart is usually a good rule of thumb, but hey, you do you.
It’s time for some magnet magic! Grab a magnet and place it on the inside of the bottom hem of your curtain. Then, attach a metal washer to the hem’s outside, sandwiching the fabric between the magnet and washer. If your magnets are strong enough, they snap together through the fabric.
Now, let’s make it permanent—as permanent as you want it to be. Use a dollop of fabric glue or a dab from a hot glue gun to secure the magnet and washer in place. Give it a few minutes to dry, and you’re ready!
What’s so remarkable about this method? Versatility, baby! Got a windy day? The magnets keep your curtains grounded. Need to remove the weights for washing or a style change? Just snap them off. It’s that easy!
So go ahead and unleash the power of magnetism on your outdoor curtains. It’s like they always say: Opposites attract; in this case, they draw your curtains right where you want them—hanging smooth and steady.
5. Clip-On Weights
If you’re all about quick fixes and love the idea of something as easy to attach as it is to remove, let me introduce you to your new BFF: Clip-On Weights. Yep, it’s just like it sounds—you clip them on, and you’re done! Who’s ready to add some gravity to those drapes?
First, let’s talk supplies:
- Clip-on curtain weights (available at home goods stores or online)
- Measuring tape
Now, here’s where it gets straightforward. Unfold those clip-on weights and have them at the ready. Use your measuring tape to evenly space out where you’ll attach these little wonders along the bottom hem of your curtain. You might want to go for an even number, like one every 10 or 12 inches.
Okay, now grab a clip-on weight, open it up, and simply attach it to the bottom hem of the curtain. Yup, that’s it! The clip grips the fabric, and the weight pulls it down, keeping everything in place. These clips are generally pretty strong, so that they won’t slip off anytime soon.
But here’s the kicker: Need to wash the curtains? Have a party and want a different look for the night? No problem! Just unclip the weights, do your thing, and clip them back on when ready. It’s that simple. No mess, no fuss, and absolutely no commitment.
And let’s not forget, these clip-on wonders aren’t just functional; they can be stylish, too. Some come in decorative designs or finishes that can add a little extra flair to your outdoor space. So you’re not just solving a problem; you’re doing it with style!
There you have it—a hassle-free, no-sew, easy-as-pie method for keeping outdoor curtains from flying away with the wind. With Clip-On Weights, you’re always just a clip away from curtain perfection.
6. Wind-Resistant Curtain Rods
Have you ever considered going beyond the curtain to solve that pesky wind problem? Well, guess what? You can! Get ready for a solution that’s as rock-solid as it is stylish: Wind-Resistant Curtain Rods. Yep, it’s real and might just be the answer to your windblown woes. Let’s dive in, shall we?
Alright, what’s in the cart?
- Wind-resistant curtain rods (yes, they’re special, and yes, they’re worth it)
- Brackets and hardware for installation
- Level
- Screwdriver or drill
- Measuring tape
First off, let’s chat about why these rods are different. Unlike your average rods, wind-resistant curtain rods are designed to lock your curtains in place. We’re talking grooves, latches, or even special clips that grip the fabric like a toddler holds onto their blankie.
Installation is your first step. Measure, level, and then drill those brackets into place. It might sound like a chore, but trust me, it’s worth it for that sweet, sweet wind resistance. Make sure to follow the manufacturer’s instructions for the best results, and if you’re not a DIY pro, maybe call one in for this part.
Next, slide your curtains onto the rod, making sure to engage whatever lock or latch system it comes with. You’ll know you’ve done it right when those curtains don’t budge, even with a little tug.
And here’s the beauty of it all: Once those curtains are in place, they’re not just wind-resistant; they’re practically wind-proof. Plus, these rods often come in various styles and finishes, so you don’t have to sacrifice looks for functionality.
So, next time the wind starts howling, you won’t have to rush outside to adjust your curtains. Nope, you can sit back, relax, and watch as your neighbors’ curtains go flying by. Oh, the joy of being one step ahead!


